Carpet Removal: A Step-by-Step Guide
Carpet removal is a task many homeowners will face at some point. Whether it’s because your carpet has aged, is stained beyond repair, or you simply want to switch up your home’s aesthetic, knowing how to tackle the job efficiently is key. But the process isn’t as simple as pulling it up and throwing it away. A proper carpet removal requires a bit of planning, the right tools, and a clear understanding of the steps involved to avoid unnecessary hassle and damage. In this step-by-step guide, we will walk you through everything you need to know to make your carpet removal as easy as possible.
Prepare the Space
Before you begin removing your carpet, preparation is key to a smooth and efficient process. The first thing you need to do is clear the room of all furniture, appliances, and other obstacles. This may take a little time, but it ensures you have ample space to work, prevents any damage to your belongings, and allows you to move freely as you remove the carpet. Once the space is cleared, consider covering any remaining furniture or valuables with a tarp or old sheets. This is especially important if you plan to pull up the carpet in sections, as it helps protect your items from dust, dirt, and debris that could fall during the process.
Gather Your Tools
While carpet removal doesn’t require a lot of fancy equipment, it’s important to have the right tools at hand to make the process easier and more efficient. Here’s a basic list of items you will need:
- Utility knife or carpet cutter
- Pliers
- Staple puller (for glued-down carpet)
- Crowbar (for stubborn tack strips)
- Gloves and protective eyewear
- A pry bar (for baseboard removal, if needed)
Having the correct tools can make your job faster and much less frustrating, so take the time to gather everything before you get started.
Disconnect and Remove Baseboards
Before you start ripping up the carpet, it’s essential to remove the baseboards along the edges of the room. Baseboards are often nailed to the wall, and while they may look harmless, leaving them in place can make carpet removal more difficult and result in damage to the walls. Start by gently prying the baseboards off using a pry bar, taking care not to break or crack them. If the baseboards are attached with nails, use pliers to remove any stubborn nails left behind. Once removed, set the baseboards aside for later use or replacement. Removing baseboards before starting the carpet removal ensures that you have access to the edges of the carpet and that the process can proceed smoothly, leaving a clean surface for whatever new flooring or finishing you choose to install afterward.
Cut the Carpet into Manageable Sections
Now that the room is prepped and the baseboards are removed, it's time to start cutting the carpet into manageable sections. Cutting the carpet into smaller strips makes it easier to pull up, roll, and dispose of. Using a utility knife or carpet cutter, slice the carpet into strips about 3-4 feet wide. This size allows for easier handling and helps prevent the carpet from tearing too much as you work. Always cut carefully and ensure that you don’t damage the subfloor below. If you have a thick carpet or multiple layers, take extra care when cutting, as this can be more challenging. If necessary, use a straightedge or chalk line to ensure your cuts are as straight as possible. Cutting the carpet in this manner also prevents the carpet from shifting too much while you're pulling it up, reducing the risk of unnecessary rips or tears.
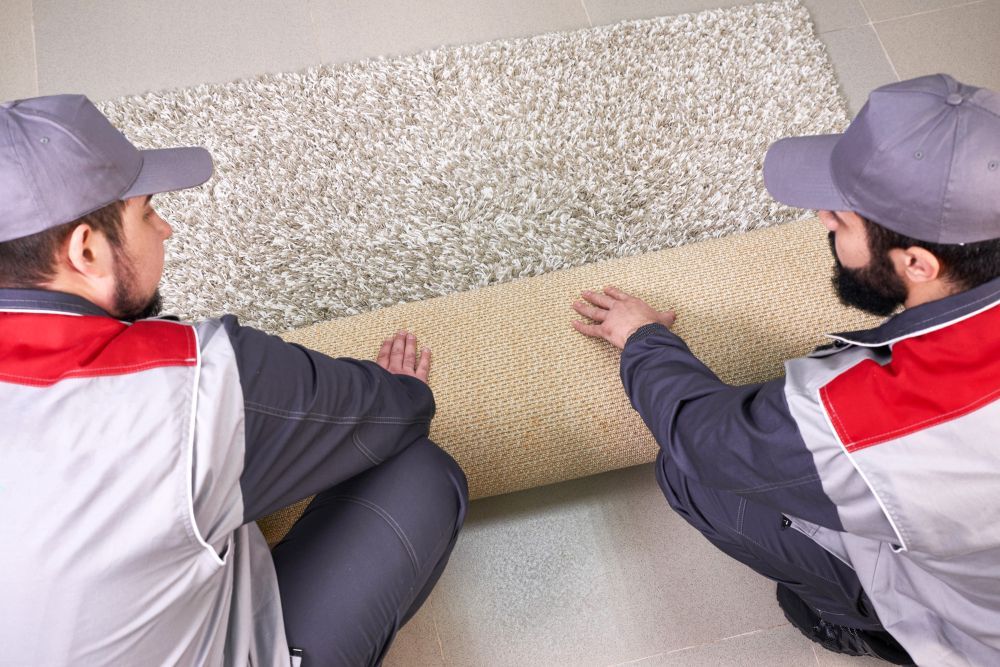
Remove the Carpet Strips
Once you've cut the carpet into manageable sections, the next step is to begin pulling up the carpet strips. Start from one corner of the room and use pliers to grab the edge of the carpet. You may need to use a bit of muscle to get it started, especially if the carpet is stuck in place with glue or adhesive. Once the edge is free, carefully pull the carpet towards the center of the room, removing each section bit by bit. If you encounter any staples or nails along the way, use your pliers to remove them, ensuring that the carpet can be pulled up without obstruction. Take care not to damage the subfloor beneath, as you want to leave it in good condition for any future flooring installation. If the carpet is particularly stubborn, you can use a pry bar to loosen areas that are especially tough.
Remove the Carpet Padding
After the carpet is up, you’ll likely find padding attached to the subfloor. Carpet padding can be stapled, glued, or nailed down, and removing it can be one of the more tedious parts of the process. Start by pulling up the edges of the padding, using pliers to get a good grip. If the padding is stapled, use a staple puller or flathead screwdriver to remove the staples, working your way across the room. Be patient as this may take a while, but it’s important for ensuring that you don’t leave remnants of padding behind, which could affect the installation of your new flooring. In cases where the padding is glued down, you’ll need to carefully peel it up in small sections, scraping away any leftover adhesive. Once the padding is completely removed, you’ll want to clean any remaining debris before proceeding.
Remove Tack Strips
Tack strips are small wooden strips nailed to the floor along the edges of the room, which help hold the carpet in place. These strips often feature sharp nails that can be a hazard if not properly removed. To take them out, use a crowbar or pry bar to gently loosen and lift the strips away from the subfloor. Start at one corner of the room and work your way around, being careful not to damage the subfloor. If the tack strips are particularly difficult to remove, you can use a hammer to tap the pry bar under them for added leverage. Once removed, make sure there are no nails or staples left behind. The subfloor should be completely clear of any obstacles, ready for the next step of your flooring installation. Don’t forget to wear gloves during this process, as the nails on the tack strips can be sharp and dangerous.
Clean the Subfloor
With the carpet, padding, and tack strips removed, it’s time to clean the subfloor. A clean subfloor is crucial for any new flooring installation, as dirt and debris left behind could interfere with the new material or cause uneven surfaces. Start by sweeping or vacuuming the entire area to remove dust, dirt, and small debris. If there are any adhesive residues or sticky areas from the carpet padding, use a cleaner designed for your subfloor material to gently remove them. A mild floor cleaner or adhesive remover may help with stubborn areas. For wood subfloors, be cautious of using too much water or harsh chemicals, as these could damage the wood.
Dispose of the Carpet and Debris
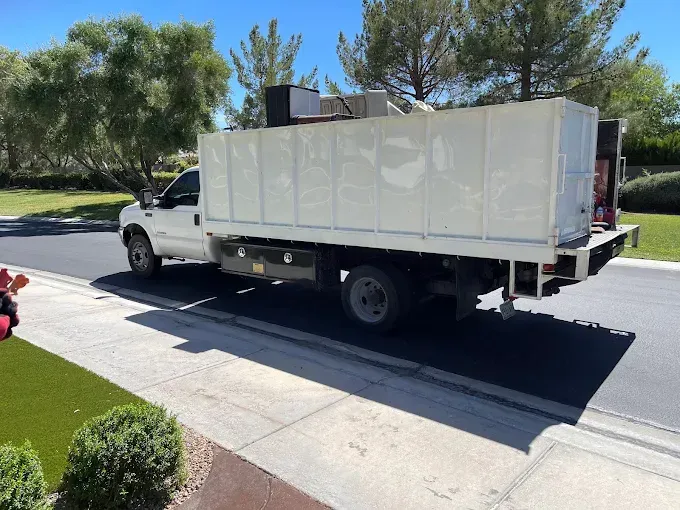
Once your carpet, padding, and tack strips have been removed, you’ll be left with a sizable pile of debris. Proper disposal is essential to prevent clutter from taking over your space. Many cities have specific guidelines for carpet disposal, so check with your local waste management services for instructions. In some areas, recycling programs for carpets may be available, allowing you to dispose of your old carpet in an eco-friendly way. If recycling isn’t an option, you can drop the carpet off at a landfill or waste disposal center. For smaller-scale carpet removal jobs, you may be able to bundle the sections and place them in a dumpster. Alternatively, hiring a junk removal service can save you time and effort, as they’ll handle the removal and disposal for you. Make sure to dispose of all debris responsibly to keep your environment clean.
Inspect for Damages
Before moving forward with any new flooring installation, take the time to thoroughly inspect the subfloor for damage. Carpet removal can sometimes uncover hidden issues, such as water damage, cracks, or uneven surfaces that need attention. Examine the entire subfloor for signs of wear and tear, particularly in areas where the carpet may have been exposed to moisture or heavy foot traffic. If you find any significant damage, it’s best to address it before laying down new flooring. This may involve sanding, patching cracks, or even replacing parts of the subfloor if necessary. Don’t overlook these issues, as ignoring them could affect the performance and longevity of your new floor. If you’re unsure about any damage or repairs, consider consulting a professional to ensure the subfloor is in the best possible condition for the new flooring to be installed.
Conclusion
Removing carpet may seem like a daunting task, but with the right tools, preparation, and a little patience, it can be accomplished quickly and efficiently. By following the steps outlined in this guide, you can ensure that your room is ready for a fresh new flooring installation or a complete makeover. If you're in the Las Vegas area and need help with carpet removal or other junk removal services, Hot Mess Cleanup & Junk Removal is here to assist. We provide comprehensive junk removal services to help make your home clean and clutter-free. Whether you need help with a single room or an entire house, our team is ready to tackle the job with professionalism and care. Feel free to reach out to us for a free estimate or to schedule a convenient time for service. Contact us today at Hot Mess Cleanup & Junk Removal in Las Vegas, Nevada at 702-800-0506 or via email at info@hotmessvegas.com.